The Best Fluffy Pancakes recipe you will fall in love with. Full of tips and tricks to help you make the best pancakes.
1. Introduction to Chocolate Hazelnut Bliss
1.1 The Allure of Chocolate Hazelnut Combinations
There’s something truly magical about the combination of chocolate and hazelnuts. It’s a pairing that evokes feelings of warmth and comfort, reminiscent of cozy afternoons spent indulging in rich, creamy treats. Whether you’re enjoying a spoonful of chocolate hazelnut spread straight from the jar or biting into a decadent dessert, every taste promises a delightful escape into flavor heaven.
1.2 Historical Background of Chocolate and Hazelnuts
The love affair between chocolate and hazelnuts dates back centuries. Chocolate, originally enjoyed as a bitter beverage by the ancient Olmecs, Aztecs, and Maya, has evolved into a beloved treat worldwide. Meanwhile, hazelnuts, native to ancient Greece and Romans, were valued for their health benefits and enjoyed in various dishes. It wasn’t until the 19th century that these two humble ingredients were combined, leading to the creation of iconic products like Nutella, which turned this duo into a global phenomenon.
1.3 Why This Recipe is a Must-Try
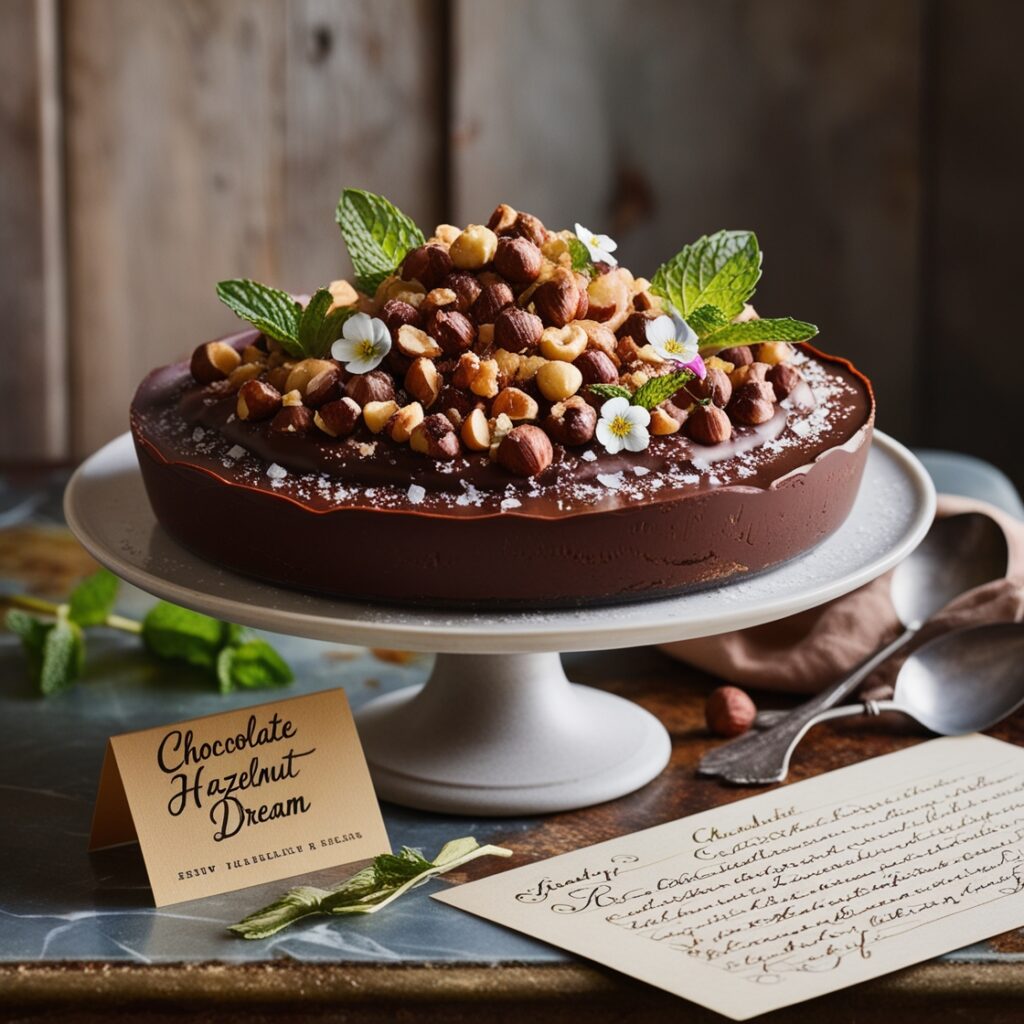
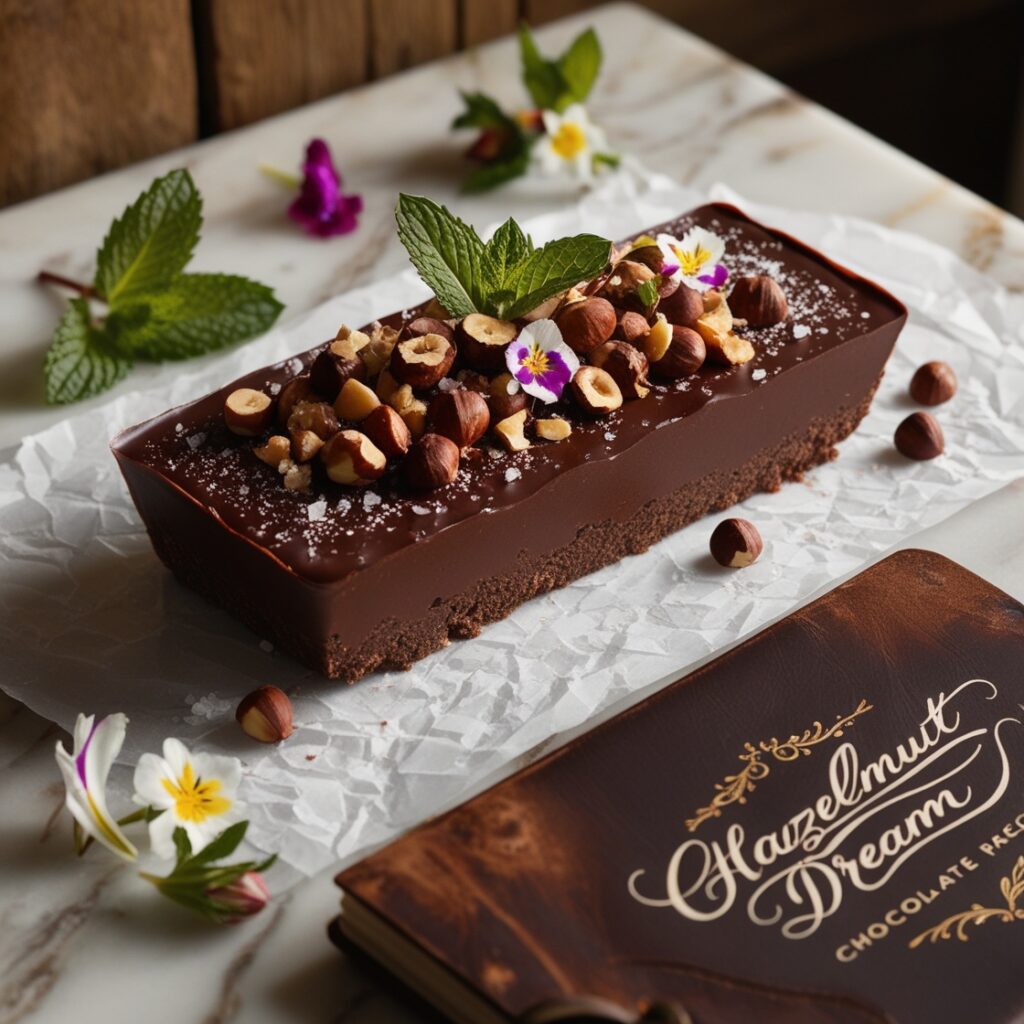
This Chocolate Hazelnut Dream recipe is not just another dessert; it’s a celebration of flavors and a joyful experience in the kitchen. The creamy texture of hazelnuts blended with rich chocolate creates a mouthwatering treat that is both satisfying and versatile—perfect for sharing with friends or savoring alone. Plus, making it from scratch means you can customize it to your liking!
2. Ingredients for the Dream :
2.1 Primary Ingredients: Chocolate and Hazelnuts
- Chocolate: Use high-quality chocolate, preferably dark or semi-sweet, for the best flavor.
- Hazelnuts: Fresh, unsalted hazelnuts are key for that nutty richness.
2.2 Secondary Ingredients: Additional Flavorings and Spices
- Sugar: Sweetness to balance the chocolate’s bitterness.
- Butter: Adds creaminess and a lovely richness.
- Vanilla Extract: Just a splash enhances the overall flavor profile.
- Salt: A pinch to elevate the sweetness and add depth.
2.3 Suggested Tools and Utensils for Preparation
- Roasting Pan: For roasting hazelnuts.
- Baking Dish: Optional for final dessert assembly.
- Food Processor: Essential for grinding hazelnuts to a creamy consistency.
- Mixing Bowls: For combining ingredients.
- Spatula: Handy for scraping and mixing.
3. Step-by-Step Preparation Process :
3.1 Preparing the Hazelnuts: Roasting and Grinding
- Preheat your oven to 350°F (175°C).
- Spread hazelnuts on a roasting pan and toast for about 10-15 minutes until golden brown. Let them cool slightly.
- Rub the cooled hazelnuts between your hands to remove the skins. Don’t worry if a few skins stick around!
- Place the hazelnuts in a food processor and pulse until they reach a creamy consistency.
3.2 Melting the Chocolate: Techniques for Success
- Chop the chocolate into small pieces for even melting.
- Use a double boiler setup or microwave on low power, stirring frequently until smooth and melted. Be careful not to overheat!
3.3 Combining Ingredients for the Perfect Mixture
- In a mixing bowl, combine the melted chocolate and ground hazelnuts.
- Add the butter, sugar, vanilla extract, and salt. Mix until everything is well incorporated and smooth.
4. Baking and Final Touches :
4.1 Choosing the Right Baking Dish
Choose a non-stick baking dish or line it with parchment paper for easy removal. A square or rectangular dish works well for brownies or bars.
4.2 Baking Time and Temperature Guidelines
Bake at 350°F (175°C) for 20-25 minutes, or until a toothpick inserted comes out clean but moist. Check on them towards the end for perfect gooeyness!
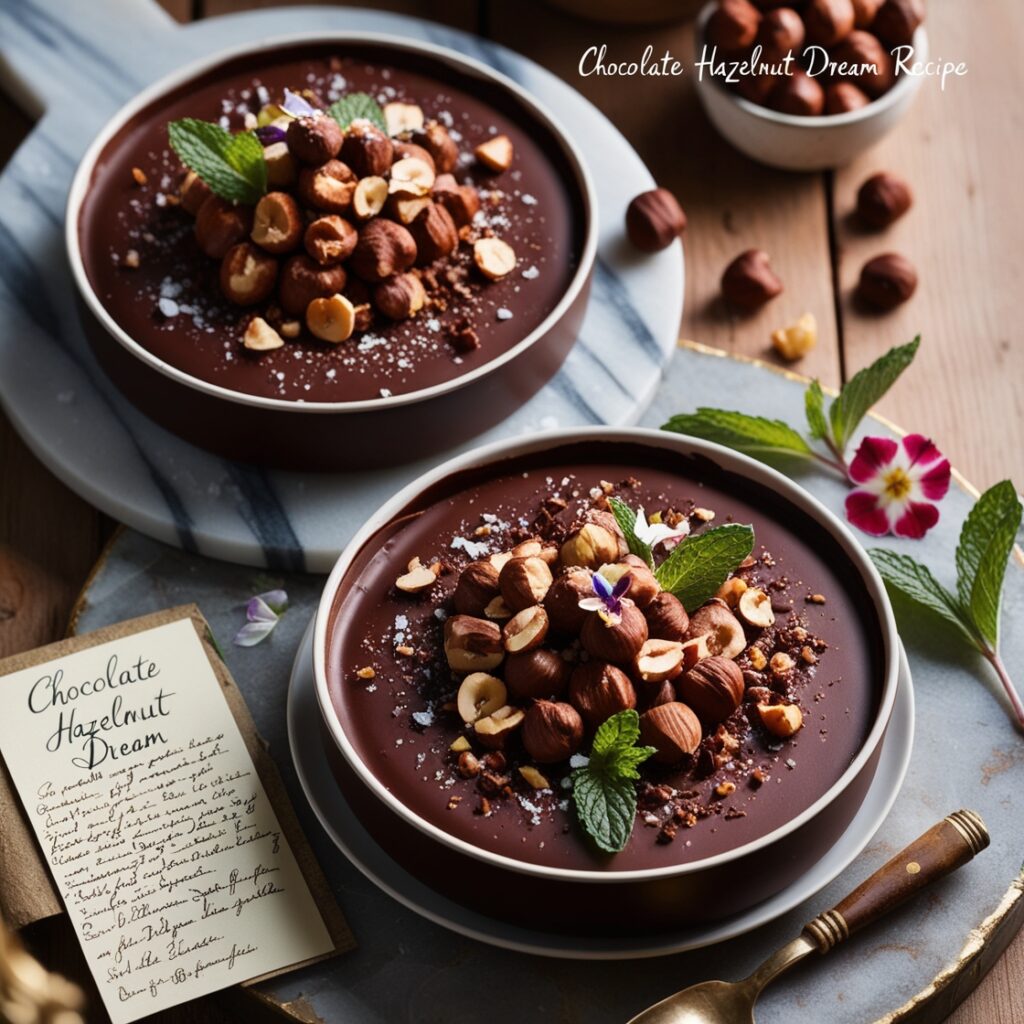
4.3 Personalizing Your Creation: Toppings and Variations
- Nuts: Sprinkle chopped hazelnuts or almonds on top for extra crunch.
- Fruits: Add sliced bananas or strawberries for a fruity twist.
- Drizzle: Melted chocolate or caramel drizzled on top make for an eye-catching finish.
5. Serving Suggestions and Pairings :
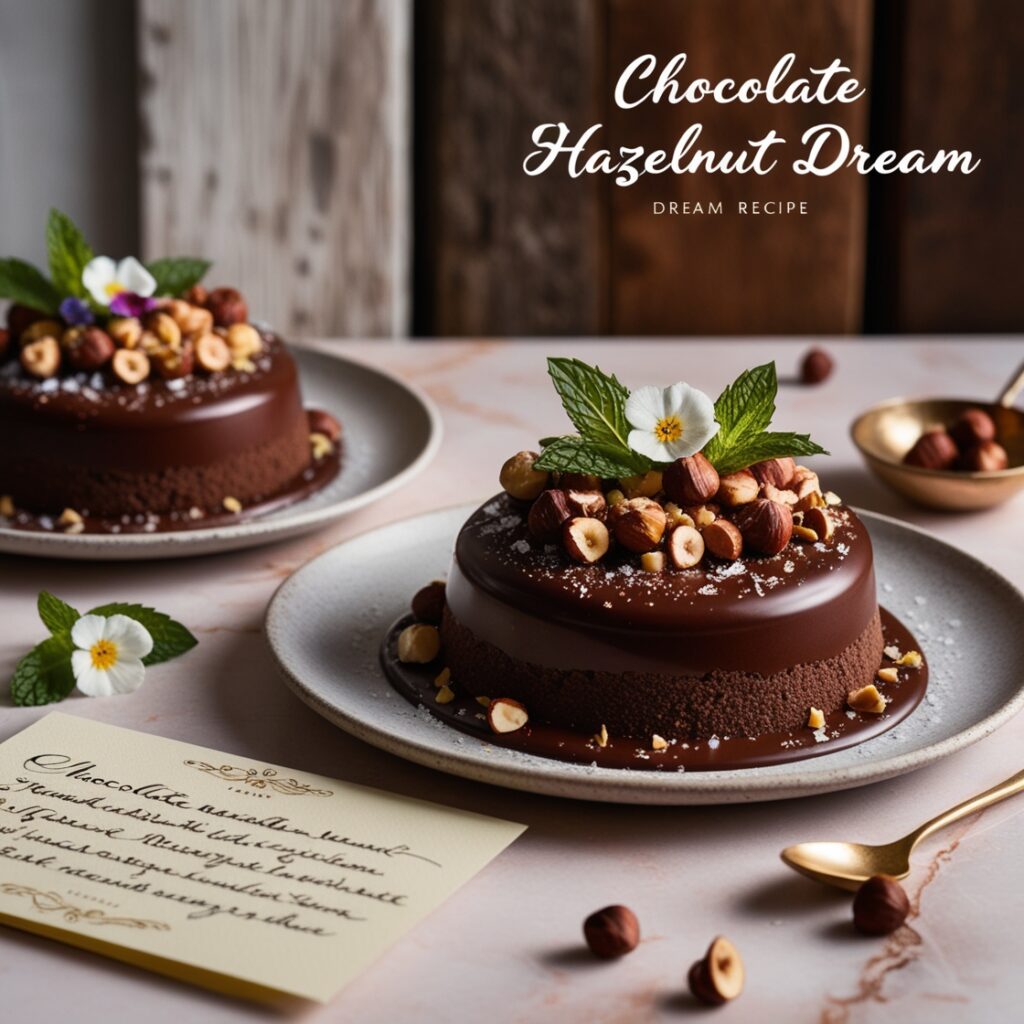
5.1 Presentation Ideas for Sharing the Delight
Serve in small squares, garnished with a dusting of powdered sugar or a dollop of whipped cream. Arrange on a lovely platter for gatherings!
5.2 Beverage Pairings to Enhance the Experience
Pair your treats with a glass of milk, a rich espresso, or a warm cup of tea, allowing the flavors to blend beautifully.
5.3 Storage Tips: How to Keep the Treat Fresh
Store in an airtight container at room temperature for up to a week. For longer shelf life, refrigeration can help keep them fresh!
Conclusion :
Creating this Chocolate Hazelnut Dream is not just about indulging in a delicious treat; it’s about savoring the process of making something incredible from scratch. Every step brings you closer to a delightful experience that fills your home with the comforting scent of chocolate and nuts. So roll up your sleeves, gather your ingredients, and treat yourself to this blissful creation!
Frequently Asked Questions (FAQs) :
– Can I substitute ingredients in this recipe?
Absolutely! You can use other nuts like almonds or walnuts for a different flavor, or substitute coconut oil for butter for a dairy-free option.
– How long can I store the finished product?
When stored properly in an airtight container, your treat should stay delicious for about one week at room temperature or up to two weeks if refrigerated.
What are some alternative uses for this mixture?
This delightful mixture can serve as a filling for pastries, an ice cream topping, or even as a spread on toast or pancakes. The possibilities are endless!
Emma Ai Chef 👩🍳 🌟